I am writing to appeal the removal of my video for containing copyrighted material. My video’s use of copyrighted material is clearly covered under each of the four pillars of Fair Use, as outlined below.
As a student at a non-profit university, the purpose of my video is for the analysis of film form and teaching others. In the video I presented an analytical claim that [THESIS]. My video’s purpose is primarily non-commercial rhetorical criticism.
I have only used published, publicly-available film clips. Given the context of my video essay, film analysis, the use of these clips was essential for a visual understanding of my argument.
According to Purdue OWL, “reproducing only a small part of a copyrighted work is more acceptable than using an entire work.” Fair Use doesn’t specify a precise time length for how much copyrighted work can be present in a video, but my video, which contains many clips, is less than 10 minutes long. Represented as a portion of [most heavily used primary source], 10 minutes is a mere (10/total runtime) of the complete work.
By using short, less than 2 minute, clips, it’s unlikely that this video will have any market effect on the films it references. If anything, my video essay encourages viewers to purchase and watch the films that are analyzed. Realistically, the video will only be seen by a small audience of the 22 students in the class.
When all four pillars of Fair Use are considered together, my video is not only protected by Fair Use but an example of the kind of great work Fair Use makes possible. Please continue to support Fair Use by unblocking my video’s content.
Sofles is an internationally-famous graffiti writer from Brisbane. He’s garnered much of his fame from his high-production digital content, such as what you see above. Read about his 2009 conviction here.
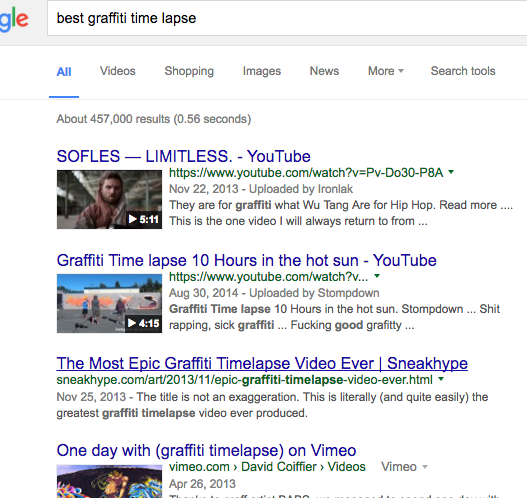
In that vein, check out this strange 21st century production: a local waste management company sponsors a burn and then pays a production crew to time-lapse it.
A very brief guide to graffiti styles. Graffiti is a type of calligraphy (among other things) and as such there are thousands of variations in style, many with their own regional names/designations; try to just master the basics for this project
Another online exhibit on graffiti (commissioned by the Russian Federation for UNESCO)
P.S. The digital really impacted the graffiti scene in the late 90s. Check out these long-running graffiti websites to see how they’ve grown.
I’ve found some brief framing resources that I think will be helpful for your project, and I’ll be adding them to the blog and cataloguing them on Omeka. To open up this conversation, I want to share Style Wars (1983) with you. This film is one of the most important and well-known documentaries on graffiti, so if you prefer to do your research in video form, check it out:
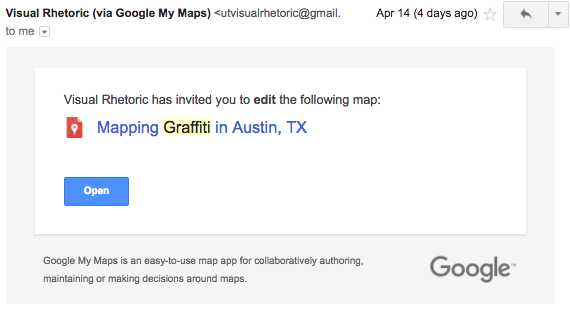
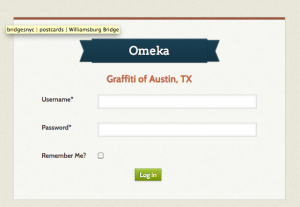
First, accept the invitation to edit our Google map from your authorized gmail account.
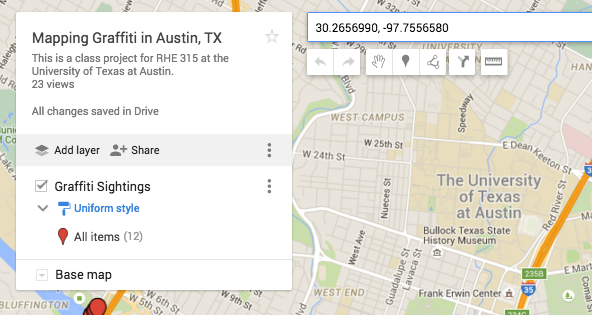
This will navigate you to the map. You should probably bookmark it for future reference.
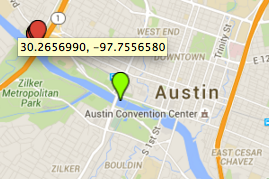
Once in the map, copy and paste your GPS coordinates formatted as ##, -## from your Omeka item entry into the maps navigation bar. Click search.
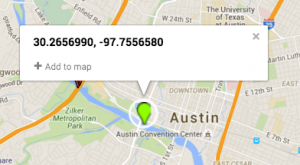
A new marker will appear in green. Click on the marker and add it to the map.
You will now be able to edit your entry. Click on the “edit” pen icon and begin copying and pasting the following fields from your Omeka item entry, where #=the item number in our archive.
Now toggle away and add your picture data. DO NOT use Omeka hotlinks; they expire after a few days. Instead, upload another copy of your photos to our Google account (UTVisualRhetoric). Log out of any gmail account, log into UTVisualRhetoric, and click here to upload your photos.
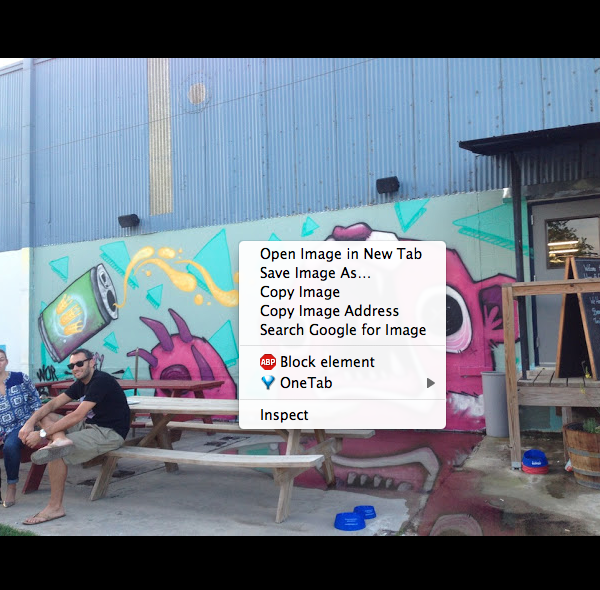
Once you have uploaded your photos, right click on the photo you want to attach to your Google Maps entry and click “Copy Image Address”.
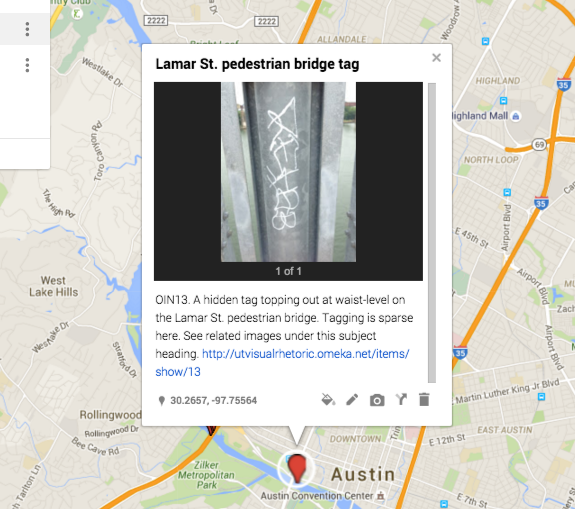
Toggle back to your Google Map entry and click on the camera icon to add your item picture. Paste your URL into the box when prompted.
Voila! You now have a map entry linked to your Omeka item. Do this for each item.
Observe that I have made a collection for your group. Change the name to something your group would like to call their collection of artifact photos. You can choose anything you like, and you can change your name at any time in the data collection process. (I tentatively named my collection “Graffiti, Access, and Erasure.”)
After you’ve named your group’s collection, you can add items to. This is how we will track your group’s contribution to the archive. Make sure you “collect” your group’s contributions in your collection. No item should be hanging out uncollected.
Adding items to your collection
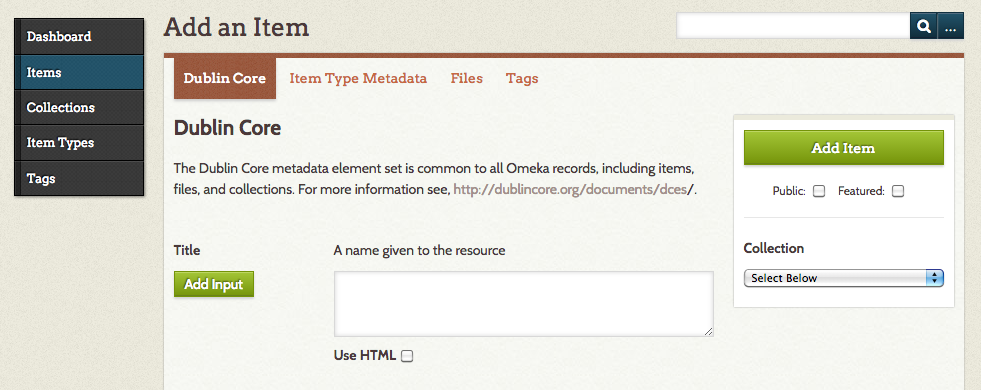
From your dashboard, click “Add item.” This will bring up the data entry screen for a new item.
You can look at any of my items to see examples of field input at my collection here. See that there are four categories of data field. You need to fill out each one. Below is a list of the required fields of data for each item you add to our archive. Hypertext gives you a shortcut to best practices instructions for that field further down in this document.
When you have finished entering your data, you should check the “public” box, select your group’s collection from the drop-down collection menu, and click “add item”. You’ve just entered one item in our archive! Now you’re ready to add it to the class Google map.
Best Practices for Cataloguing Data
Dublin Core.
Title.
If there are legible words, list words first. Preserve caps.
If there are no legible words, list a 1-2 word description first. Capitalize only proper nouns.
If there are no legible words or useful descriptors (e.g. illegible graffiti), list the location first.
List a descriptive type last. Types should be categorical and should match entry in “type” field below. Sample types: tag, mural, wheatpaste, stencil, etching
Sample titles: “STAY MELLOW wheatpaste” “NINJA STYLE KUNG FU GRIP tag” “3D glasses stencil” “Mopac pedestrian bridge rail etchings”
Subject (if applicable).
Only enter a subject if you collected a group of artifacts at a single location. The location should be listed as the subject to help group the artifacts by site. Example: Mopac pedestrian bridge, HOPE Outdoor Gallery. If subject is applicable, refer to subject heading in description (below) as follows: “See related images under this subject heading.”
Description.
Give a simple, neutral, non-analytical description of the artifact, including potentially useful information about size, location, texture, proximity to other artifacts, etc.. Example: Etchings occur along Mopac pedestrian bridge in its entirety. Etchings occur near wheatpastes affixed to columns supporting Mopac automobile bridge (directly above pedestrian bridge). Pilings are difficult to access. See related images under this subject heading.
Creator.
List the creator of the photograph (likely, you).
Date.
List the timestamp on the photograph in long format, e.g. April 17, 2016 10:42 AM.
Rights.
Choose the rights you want to reserve for yourself re: your photographic image. Do you want to give permission to others to use it for purposes other than those specified under Fair Use? Answer three simple questions to create a Creative Commons License for your photographic work and refer to it in this entry. I generally use the same license for all of my work (Attribution-Non Commercial 4.0 International).
Languages.
If there is text in your artifact, specify what language, if discernible.
Type.
The categorical type of graffiti. Sample types: tag, wheatpaste, etching, stencil, mural
Item Type Metadata.
Item type.
Choose still image for standard entry.
Original format.
Type “photo” for standard entry.
Physical dimensions. This information is required for exhibited items only. Recording the dimensions for all other entries is optional.
Geolocation.
List the photo-associated GPS data in X, Y format. Use positive X values for N and negative X values for S; likewise, use positive Y values for E and negative Y values for W. Unless you’re planning on leaving this quadrant of the globe, that generally means your GPS coordinates will be [#.#, -#.#]. Do not include brackets. Do not use any other format. Do not round off; leave the long string of decimal points.
Files.
Upload at least one image. Multiple images are acceptable, especially to give a sense of space, view, and/or access.
Resize images to 1024x968p max. We have a 500 MB space limit on our archive and so we need to be economical with our file sizes. It’s probably a good idea to keep the larger version available in your personal files in case your group or another group needs to request it.
Preserve highest image resolution possible. Save/export your images as .png or .jpg only.
Name the file something brief, descriptive, and related to the image title.
Tags.
assign at least one tag. Sample tags: installation, deteriorating, tagging, wild style, throw up, etching, erasure
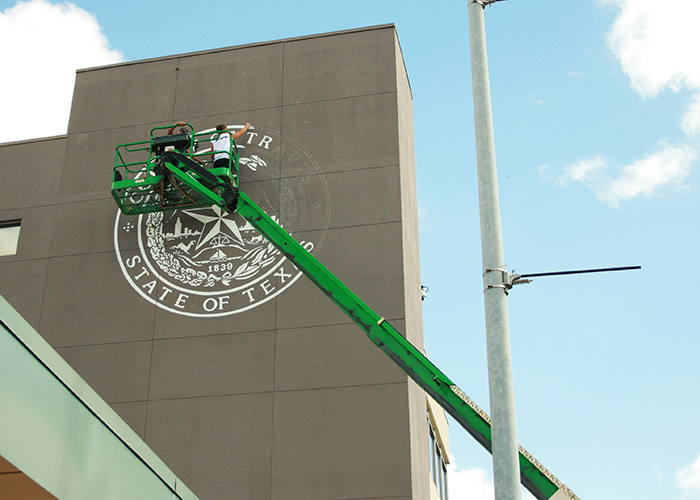
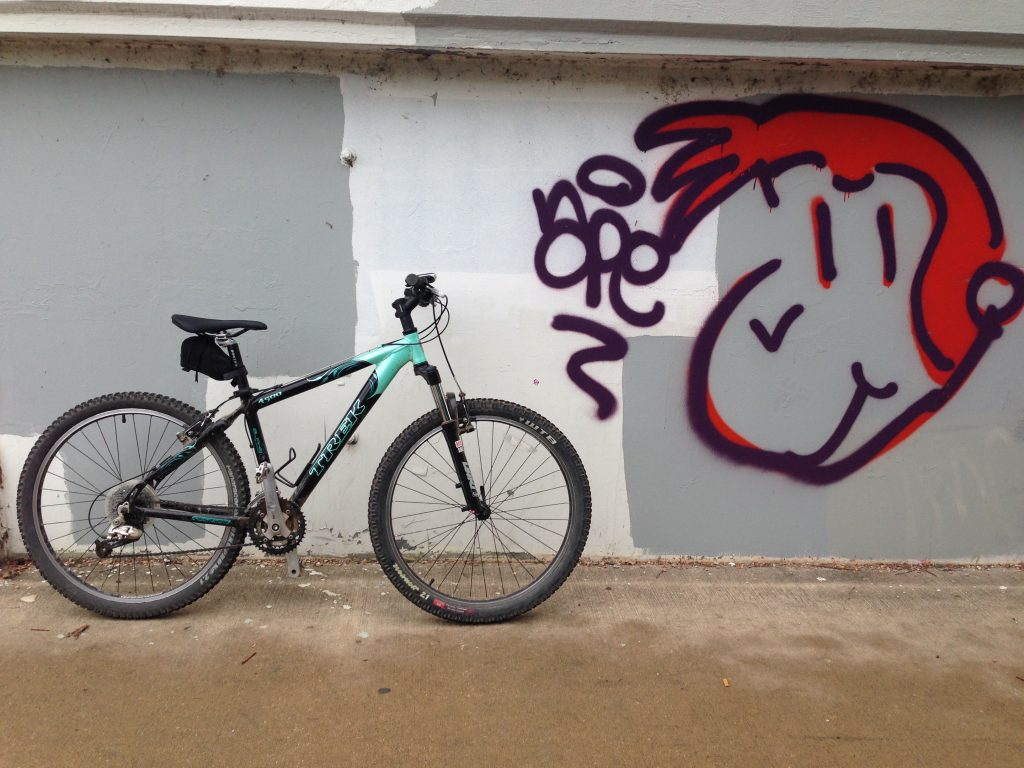
NB: I got a lot of good shots yesterday morning before/during the rain, so I’ll be adding them to our archive this afternoon!
As long as your settings allow for it, your phone attaches GPS data (lat, long) to your photos when you take them. Make sure your wifi is enabled for best results.
Use your standard uploader (I use Image Capture, which is built into OSX) to get these images AND their attached geo tags (part of what’s called EXIF data). If you edit or crop your photos, be sure to keep the original file for reference, as many editing and uploading softwares remove EXIF data for your privacy.
ADDENDUM: I thought GPS data would show up in the photo’s info, but I found that (at least on my Mac running OSX 10.6.8 [I know, it’s 2016, but I really hate OS updates]) I had to open the photo in a program to see the GPS data. I used Preview as described here. This article gives the same directions for Windows, as well as a rundown of mobile apps that give you the same info on your phone.
Group 1: Cuillin, MG, Don, Daniel, Madison
Group 2: Jamie, Victoria, Kaitlin, Pearl, Yessenia
Group 3: Sophia, Angel, Savannah, Michael, Harrison
Group 4: Christian, Alfredo, Sam, David, Bo
Your first research group assignment is to draft a paragraph arguing that our video essays’ use of source material qualifies as Fair Use. Recall the Purdue Owl handout on Fair Use we went over in class:
This resource works mostly with 17 U.S.C. § 107 on fair use, which provides the conditions that allow the limited use of copyrighted works. Again, these strategies are general rather than specific, and fair use is determined on a case-by-case basis. Four factors are considered when determining fair use:
What is the purpose of the use?
What is the nature of the copyrighted work?
How much of the work will be used?
What is the market effect on the original work of the use?
Fair use is determined by weighing these four factors either for fair use or for asking permission to use the work. If the answers to the majority of the questions are “yes,” then the use can be considered fair use;. However, if the majority of the answers are no then permission to use the work must be obtained.
The purpose of this draft is to give class members a template to work from when drafting a Fair Use appeal to YouTube. Feel free to leave blanks/ indicate where specific content from each video might be useful evidence for a classmate to add to the general template. We will compile all four pieces into one template to use for our Fair Use appeals. Your group should submit your assigned section to the blog by 5 pm on Friday, April 15.
Group 1: “What is the purpose of the use?”
Group 2: “What is the nature of the copyrighted work?”
Group 3: “How much of the work will be used?”
Group 4: “What is the market effect on the original work of the use?”
I wanted to follow up on Alfredo’s and Cuillen’s questions from class today in more depth, especially since both questions help expand our digital literacy.
Alfredo asked if Fair Use covered footage from a film used as a transition. We know from our Fair Use discussion today that an image that is central to analysis is most firmly protected by the “purpose of the use” pillar of Fair Use. But I think our discussion did not explain how what I call “b-roll” footage is central to analysis. The explanation of why is an important exploration in composition and digital rhetoric, so I want to thank Alfredo for introducing this nuance as a problem for our class project.
“B-roll” is a term from documentary film-making. Anthony Artis explains in more detail below, in this snippet of “Your B-roll is your A-roll“:
“The term ‘B-roll’ comes from the world of film where editors used to use an “A” and a “B” roll of identical footage, before the digital age changed everything. B-roll shots are similar to cutaways in that they help break up the static interview shots, but B-roll plays a more major role in telling a visual documentary story.
A long-time documentary filmmaker I know actually refuses to use the term B-roll, because she feels it diminishes the importance of these visuals—and she’s right. B-roll should not be a secondary or low priority. It really should be thought of as “A-roll,” because it is the action of your story, which serves to reveal character. Without it, you’ve just got a bunch of talking heads… booor-ing.
Even with an engaging storyteller speaking, the audience still needs to see visuals of the scene, settings, characters, and action of the story. An interview or voice-over itself is the narration or literal telling of the story. The B-roll is the showing of the story. Together they can complement each other by painting a more complete picture. That amazing guitarist could tell us what it was like to play Woodstock (the real one), but we’ve only got half the story until we cut in the B-roll shots that show the multitudes of free-spirited, mud-covered hippies swirling to the music as far as the camera lens can see. A soldier could tell us what it’s like to be in combat, but when we cut in a shot of explosions and a chaotic firefight, his story takes on real human meaning. Now we’ve got a much stronger sense of story than either an interview or B-roll footage alone could have given us.”
Think about how your B-roll is functioning in a video essay. Like Alfredo says (and I think he’s absolutely right which is why I bothered to go and watch a couple video essays with his question in mind at 9:45 on a Tuesday night), tons of video essays use film clips and secondary sources as transitional material. It works like the illustrative material that Artis is calling “B-roll”. Here’s the big exception to how you’re using your B-roll and how a documentary film maker uses their B-roll (i.e. why the documentary filmmaker can’t claim Fair Use). You’re flipping to B-roll when you want to show a bunch of examples of what you’re talking about at once (sort of like a mini-supercut) or when you’re showing a secondary source. Then you’re cutting back to the big scene you’re analyzing for your “A-roll”. Both A and B are functioning together to “paint a more complete [analytical] picture”. By this construction, you’re pairing an analytical claim (“Film does this…”) with visual examples. Then you’re using a single sustained example to make a more localized claim. Your video essay, if it imitates what we’ve watched, does some version of this swap several times–between A-roll and B-roll.
If your B-roll is neither
a) evidence for your claim nor
b) a secondary source you are bringing into your conversation
then it is likely not covered under Fair Use. Source material you use for this purpose from databases of material with the appropriate Creative Commons license for your use.
The video essays that have survived copyright strikes do so because they understand this distinction. We will talk about this in class more on Thursday. If you’re looking for transitional footage that is not covered under Fair Use, here is a great resource guide for how to find it. The video below explains Creative Commons in 3 minutes! Check it out.
Watch how Lewis Bond uses A-roll, B-roll, and transitional material (gathered from Creative Commons) when he discusses film composition–or choose your own favorite video essayist and do this same analysis for the first 5 minutes of the author’s argument. We’ll dissect this example in class on Thursday. (P.S. Turn on the CC and you’ll see how Lewis Bond gives credit for his primary sources.)
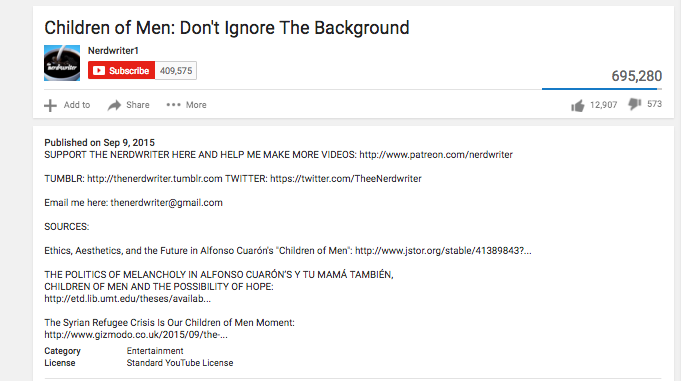
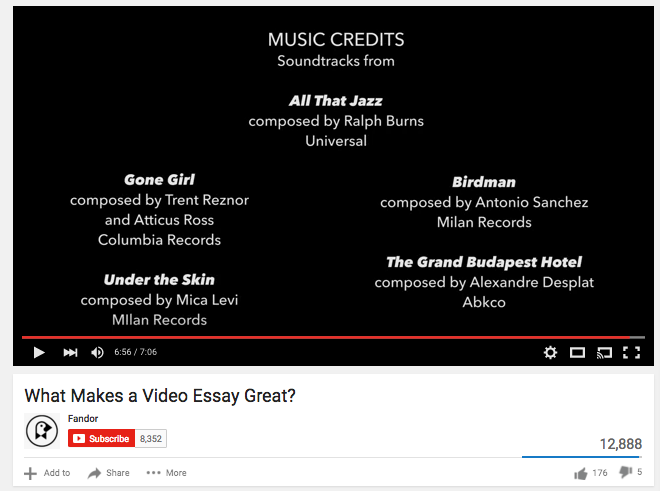
Cuillen asked how to cite sources in the video essay itself. Here’s some screenshots that show different strategies.


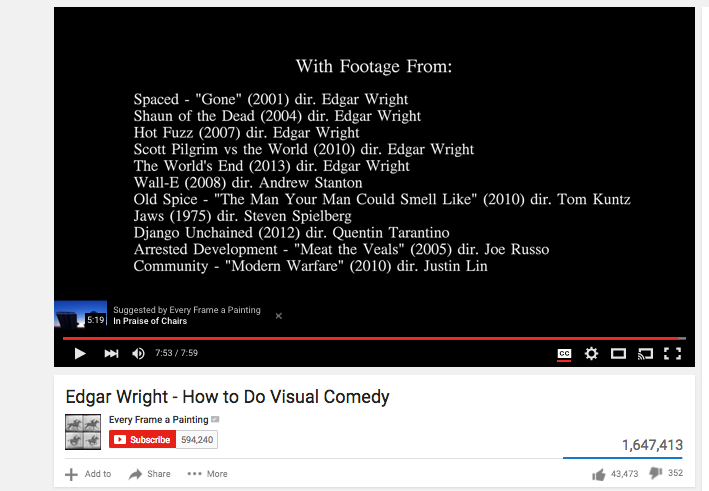